Beginners Guide to Soap Colouring
Get to know the basics of the soap colouring process and understand different varieties of soap colourants and their facts, along with the step-by-step instructions on their usage.
One of the best things about making handmade soaps is that you can customize them by adding colours to the soap! Really, nothing is more fun than selecting and mixing different shades to create vibrant and unique hues that gives the soap an aesthetic look.
But that being said, if you are a beginner to the whole soap making process, it can be a little overwhelming when picking the right kind of soap colourant for your soap. There are tons of varieties of soap colourants like dyes, pigments and micas that vary in their particle size, water-dispersion capacity and colour consistency, and if you don't have enough idea about different ranges and aspects of colourants, soap colouring can be a little tricky for you.
But don't worry, we've got you covered! This simple guide covers everything you need to know about soap colourants - types, colour range, and usage instructions - to help you make the best out of your soap colouring experience!
Types of Soap Colourants
Liquid Dyes
Liquid dyes are the simplest soap colourants to use in melt and pour soaps and cold process soaps. Since they have small particle sizes, they are an excellent choice for transparent soaps to preserve consistency and clarity. Moreover, they are highly soluble in water and can be mixed with different shades to produce a variety of colours. When used in melt and pour soaps, they can bleed into adjacent layers of the soap. Liquid dyes are available in almost all primary colours in their dilute-liquid form.
Water Dispersible Pigments
Organic pigments like water-dispersible pigments are a fine choice for colouring clear soap bases and products with high water content. These pigments are another version of insoluble organic pigments (soluble only in oil and alcohol) combined with a liquid base and an emulsifier, thus enabling them to disperse in water. Not only do they provide consistency and transparency in clear soap bases, but they are also a 'non-bleed' soap colourant, making them an ideal choice for melt and pour soaps. And owing to their non-bleed property, water-dispersible pigments are used commonly in cosmetics and toiletries.
Oxides and Pigments
Both mineral and organic pigments have relatively large particle sizes and are ideal for colouring opaque soap bars rather than transparent soaps as they may cause spotting throughout the soap. These pigments mostly come in powder forms and provide the same colour after mixing in with the products.
One main advantage of pigments over other soap colourants is that they do not bleed within the layers of melt and pour soaps over time. Bleeding of colours in soap can be a problem if you have different coloured layers in your soap. However, bleeding of colours can also be the look that you may prefer!
Mineral Pigments
Mineral pigments are used in toiletries and cosmetics like bath bombs and make-up products since they are powdered. Because of their large particle size, mineral pigments are not suitable for usage in melt and pour soaps as they may sink in suspension and diminish their clarity over time.
Organic Pigments
Organic pigments are not soluble in water in powdered form, but they are soluble in oils and some solvents. Organic pigments are less commonly used because of their insolubility in water and are not suitable for usage in bath bombs or other toiletries.
Ultramarines and Oxides are a great choice while colouring cold process soaps as they are least likely to fade over time. Oxides are produced synthetically in a lab, and they are super consistent in their colour. Soap colourants like pigments and oxides are always in their powdered form, and you will need to mix them with (liquid vegetable) glycerin rather than water.
Coated Micas
Just like their name suggests, coated micas are a class of mica that highly disperse in water, which makes them an ideal pick for making bath bombs. Adding coated micas in bath bombs not only provides a consistent, deep colour but also prevents the colour from temporarily staining your tub. However, some of the dyes present in micas may react to changes in the pH, especially at higher pH ranges. It may cause slight variations in their colour, and always check the product instructions to see if they react with changes in pH.
Micas generally have large particle sizes that make them unsuitable for melt and pour soaps and liquid bases, but they are excellent in cold process soaps as they impart bright and dazzling hues to the soap.
Natural Dyes
These dyes always come in different forms like granular, liquid or powdered. Natural dyes include soap colouring substances like micas, jewels and poly-glitter, commonly used in cosmetics and toiletries. Natural dyes are not suitable for colouring cold process soaps since they are not very alkali-tolerant and have extreme pH environments. Although they impart colour by solubilizing the products, they tend to bleed through different layers when added to soaps. Remember that dyes should always be added in small amounts (after dilution) into products as they are highly concentrated and may stain surfaces.
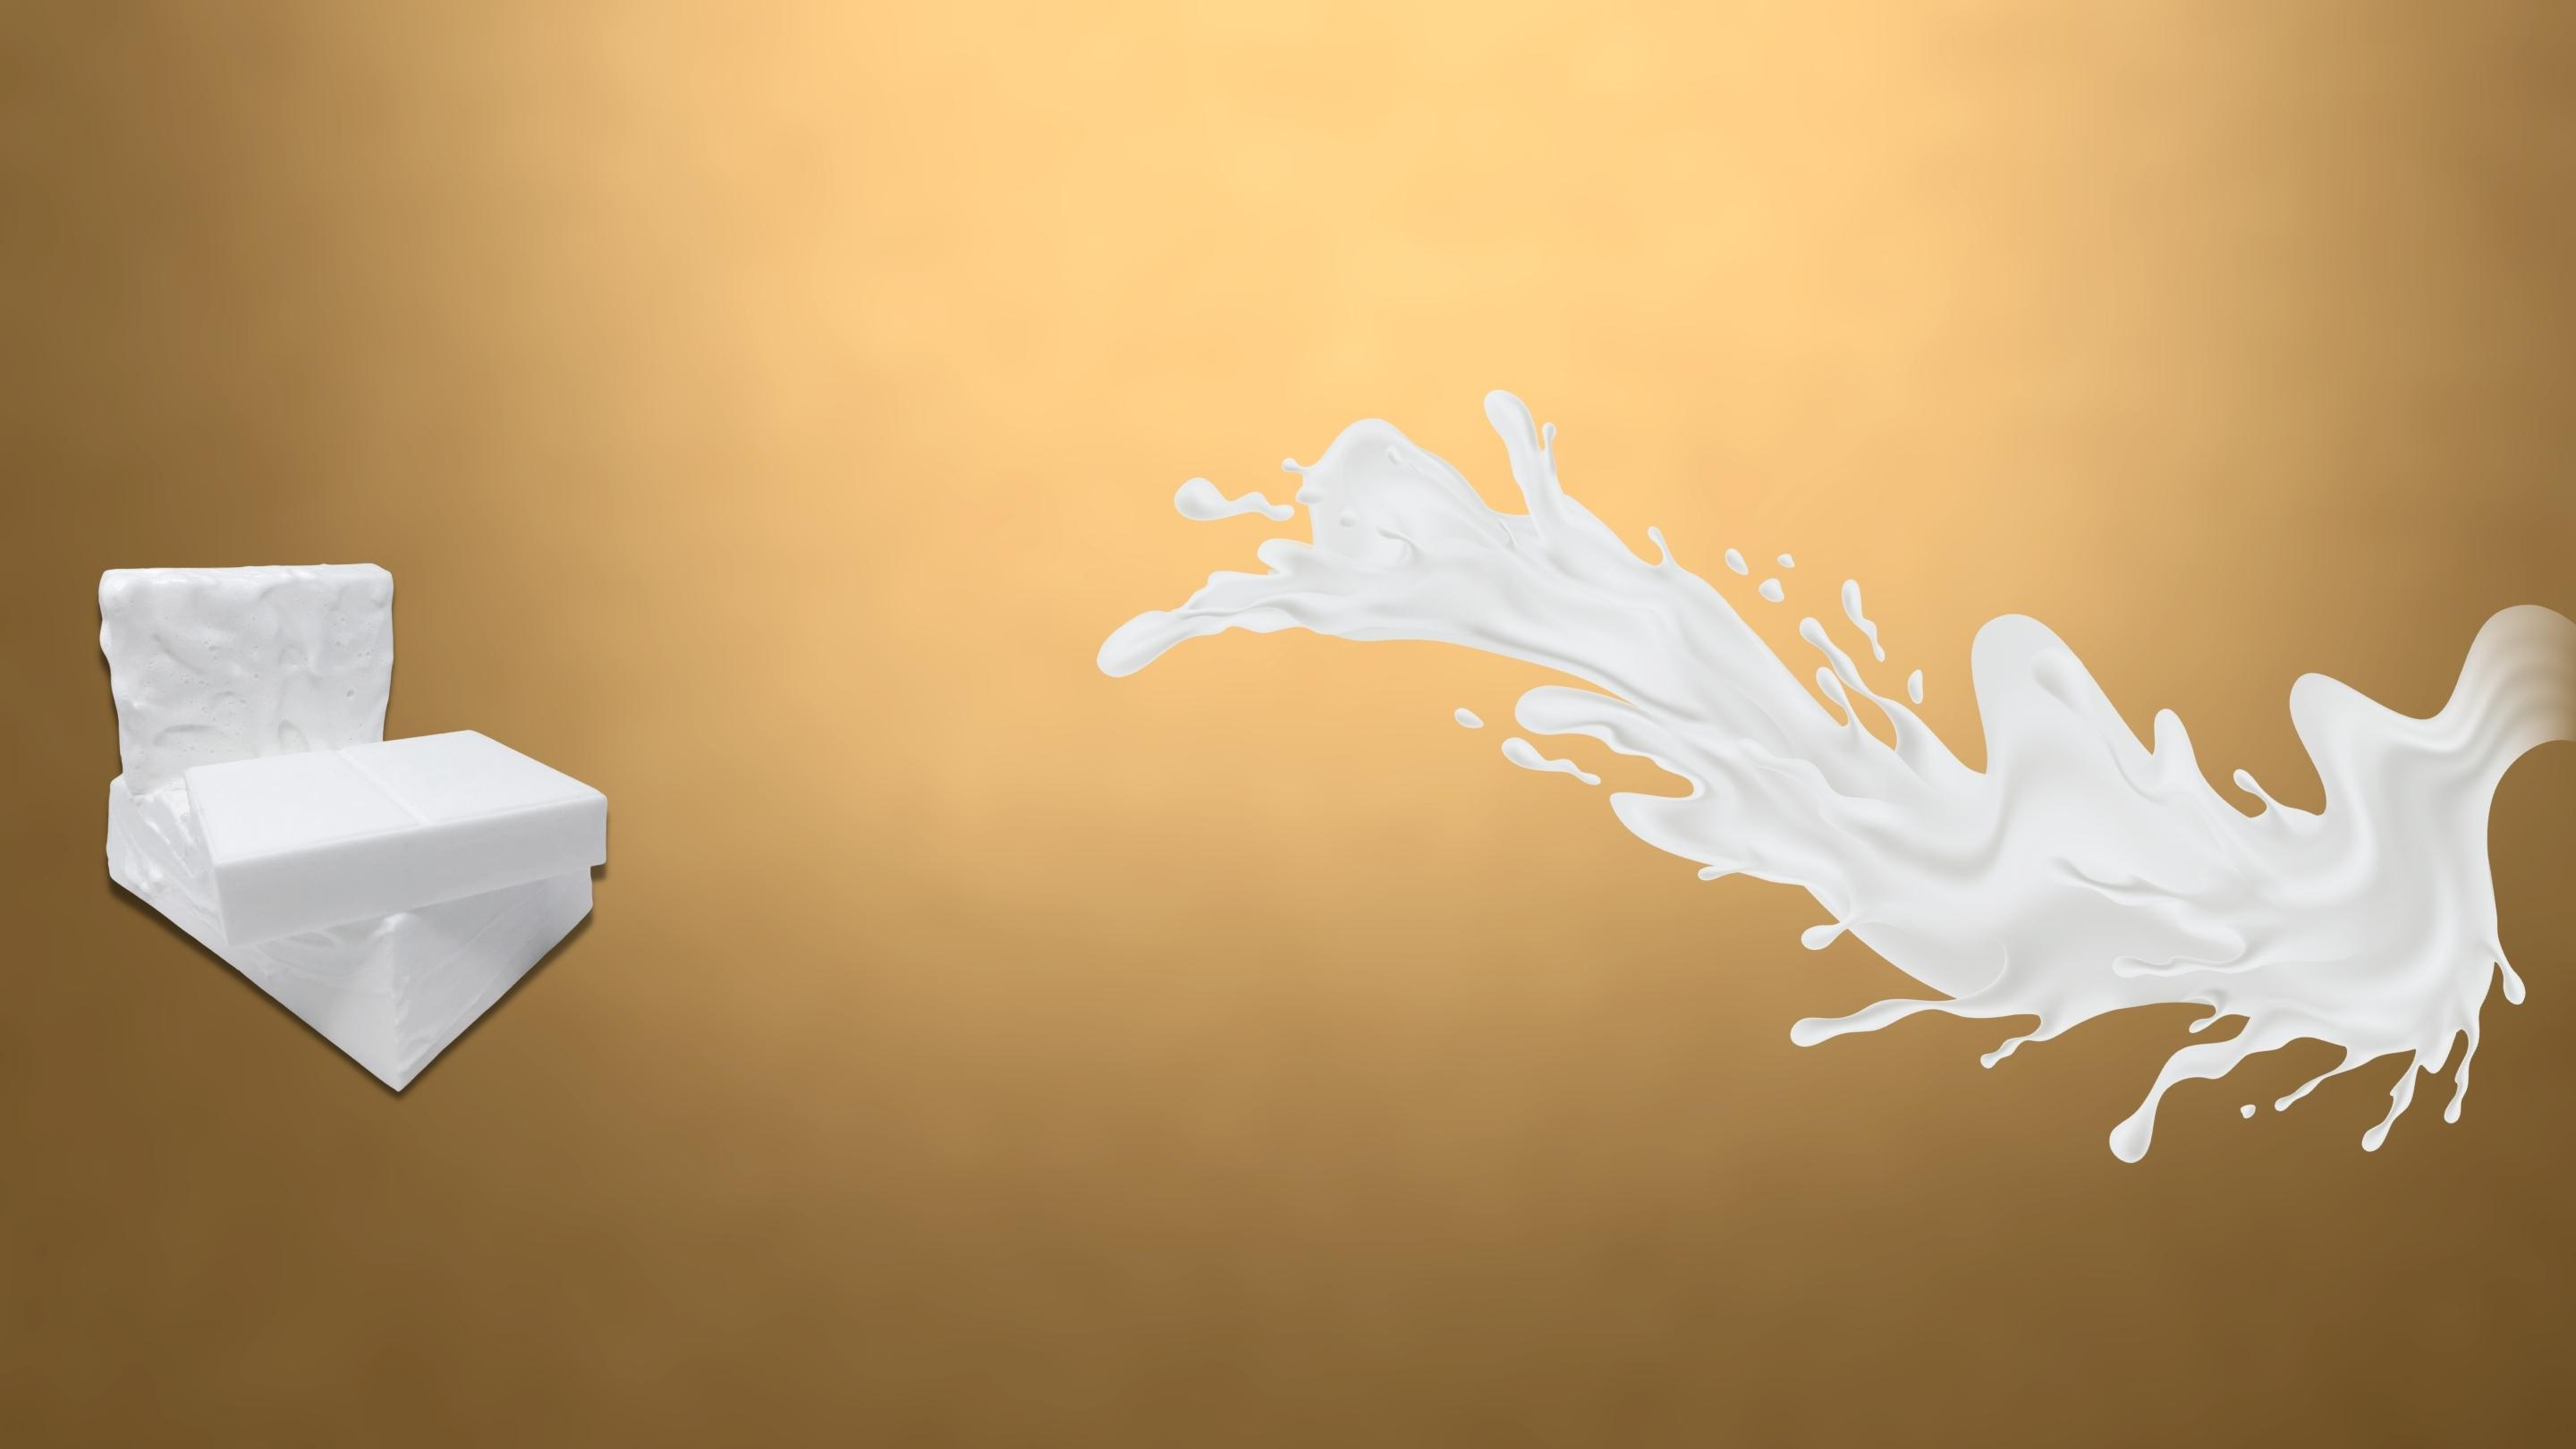
Colour Blocks
Colour Blocks is one of the most favoured soap colourants used in melt and pour soaps as they are just highly concentrated, coloured melt and pour soaps themselves! They can also be mixed in with different types of oxides, pigments and micas to enhance the look of the soap. Although Colour Blocks come in "blocks" rather than liquid or paste, they do not form clumps or speckles when mixed with the soap and provide vibrant and consistent shade throughout the soap.
Soap Colourants that are best for Cold Process Soaps
1. Water Dispersible Pigments
Usage:
When adding in cold process soaps, water-dispersible pigments must be mixed with a suitable surfactant so that they disperse in water and add colour by coating the particles.You could add the colourant before or during the trace stage of the soap once you've added all the prime ingredients. It is always encouraged to use small amounts of pigments as they might bleed into the lather of the soap.
2. Liquid Dyes
Usage:
The soap dye is added at the 'trace' stage in the cold process. Add a few drops of the soap dye into the mixture till you get the desired colour.
Do not use alcohol while adding soap dye into the soap in the cold process as it may cause seizing.
Although it isn't necessary to dilute liquid soluble dyes, it is much safer and better to use the dye after its dilution with water in a composition of 5% by weight in 95% of water. Also, keep in mind that liquid dyes tend to show slight changes in colour after they get mixed with the batch. Make sure that the liquid dye is added in small quantities as over-colouring may cause staining.
3. Oxides and Pigments
Usage:
Since most oxides and pigments occur in their powdered form, they are always mixed with a liquid except water since they don't dissolve in water and form clumps while mixing. But mixing pigments with liquid vegetable glycerin would ensure maximum colour dispersion and can even be stored for a couple of weeks for future use.
Start off by adding 1/4 tsp of pigment, and add a few drops of glycerin to it, and start stirring. You can add more drops of glycerin or the pigment till you achieve the desired colour. In the case of oxides and ultramarines, which are in powdered form, they can be dissolved in water before adding to the soap.
4. Coated Micas
Usage:
When adding coated micas in cold processed soap, it is best to mix it with oils before pouring in the lye solution. Adding mica through this routine can help the colour to blend in effectively by avoiding the soap getting too thick. While mixing with the oils, ensure that the mica doesn't clump up by stirring by hand or a stick blender. Micas can be added directly to the powder part when adding in bath bombs.
Soap Colourants that are best for Melt and Pour Soaps
1. Liquid Dyes
Usage:
Add the dye to your molten melt and pour soap right before you pour it into the mould, and you can add it along with other additions like butters, oils or fragrance. Liquid dyes can bleed through the layers of melt and pour soaps.
Use the dye after its dilution with water in a composition of 5% by weight in 95% of water. Also, keep in mind that liquid dyes tend to show slight changes in colour after they get mixed with the batch. Make sure that the liquid dye is added in small quantities as over-colouring may cause staining.
2. Oxides and Pigments
Usage:
Oxides and pigments are popularly used in melt and pour soaps mainly because of their non-bleed property. When adding to soaps, most pigments are mixed in liquid vegetable glycerin, which will ensure maximum colour dispersion and can even be stored for a few weeks for future use.
Start off by adding 1/4 tsp of pigment, and add a few drops of glycerin to it, and start stirring. You can add more drops of glycerin or the colour till you achieve the desired colour. In the case of oxides and ultramarines, which are in powdered form, they can be dissolved in water before adding to the soap.
3. Natural Dyes
Usage:
Natural dyes are added to soaps after dilution with water regardless of their form (powdered or liquid). You can add the colour to the molten soap mixture with other ingredients before pouring it into the mould. They are not suitable for cold process soaps since they are not alkali-tolerant and do not work well in extreme pH environments. Remember that natural dyes can bleed through the layers of melt and pour soaps.
4. Colour Blocks
Usage:
The easiest way to use Colour Blocks in your melt and pour soap is by chopping the blocks into smaller pieces and add piece by piece to the melted soap so that you get the desired colour precisely. One thing to keep in mind while using colour blocks is that don't overdo the colours if the base is clear, while you can add a much larger amount of colourant in a white soap base. You don't have to worry about the blocks not forming clumps or spots since the blocks would easily start melting as soon as you add them to the melted soap base mixture. After adding the colour blocks, you can stir the mixture thoroughly to ensure the complete melting of the blocks in the soap.




Leave a comment